FreeSurfer setup instructions
The following tutorial is for Windows 10 computers with Linux subsystem installed. Click here to learn how to enable WLS.
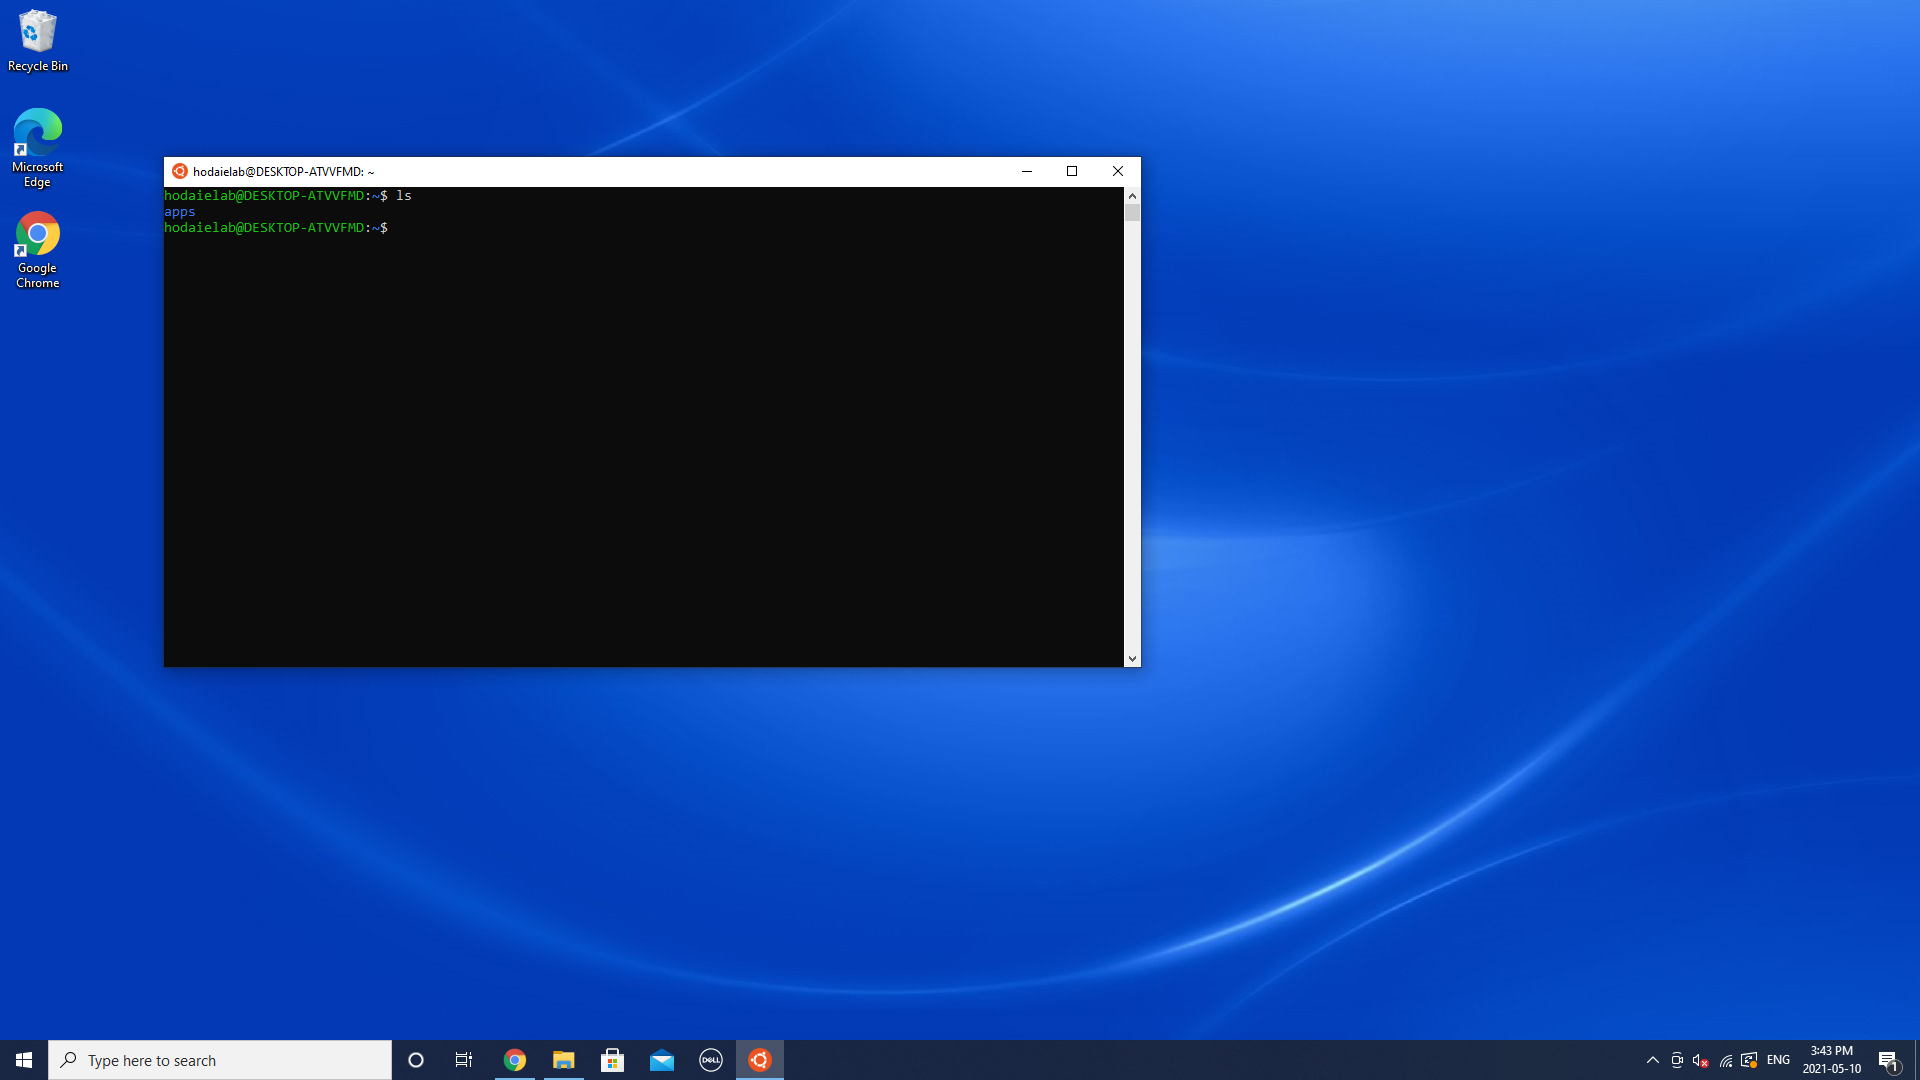
1) Launch Ubuntu app and make the applications directory for your Unix imaging apps.
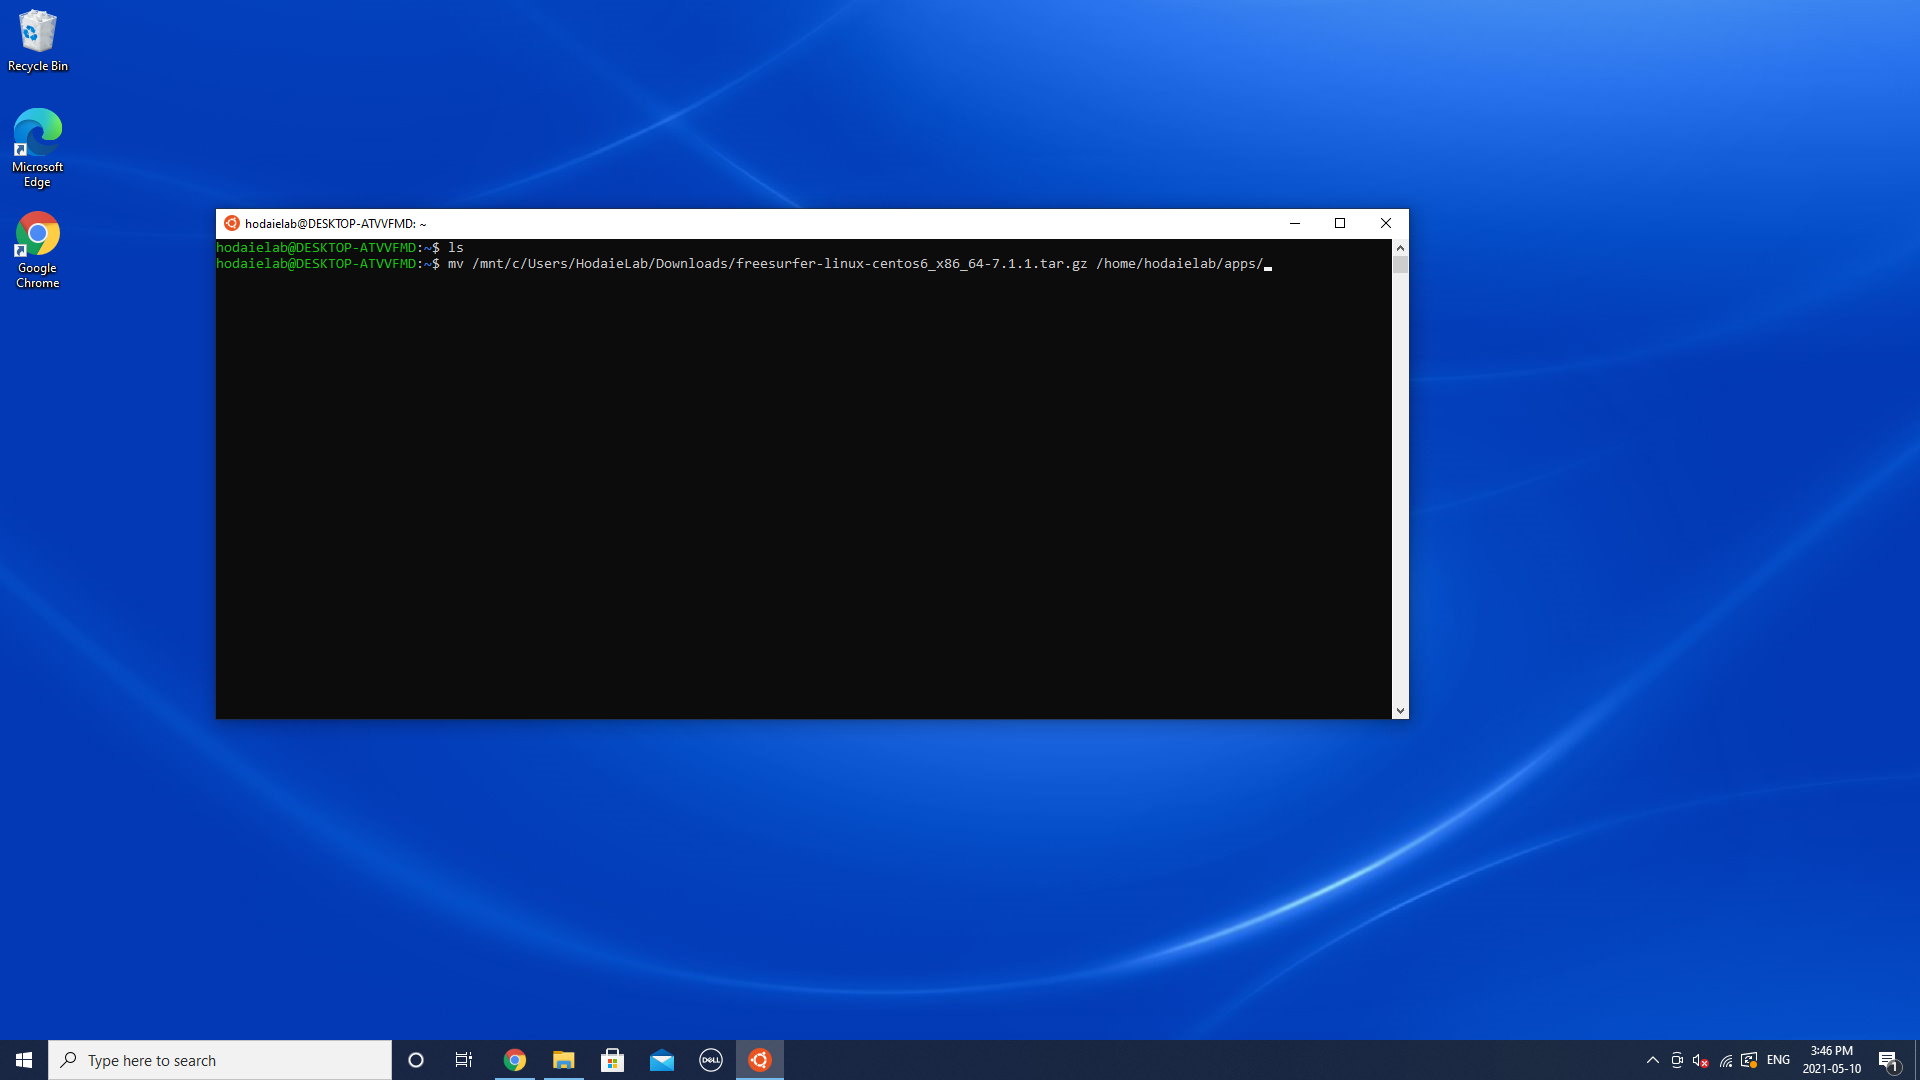
2) Once you downloaded the archive, move it to the apps directory by typing following command:
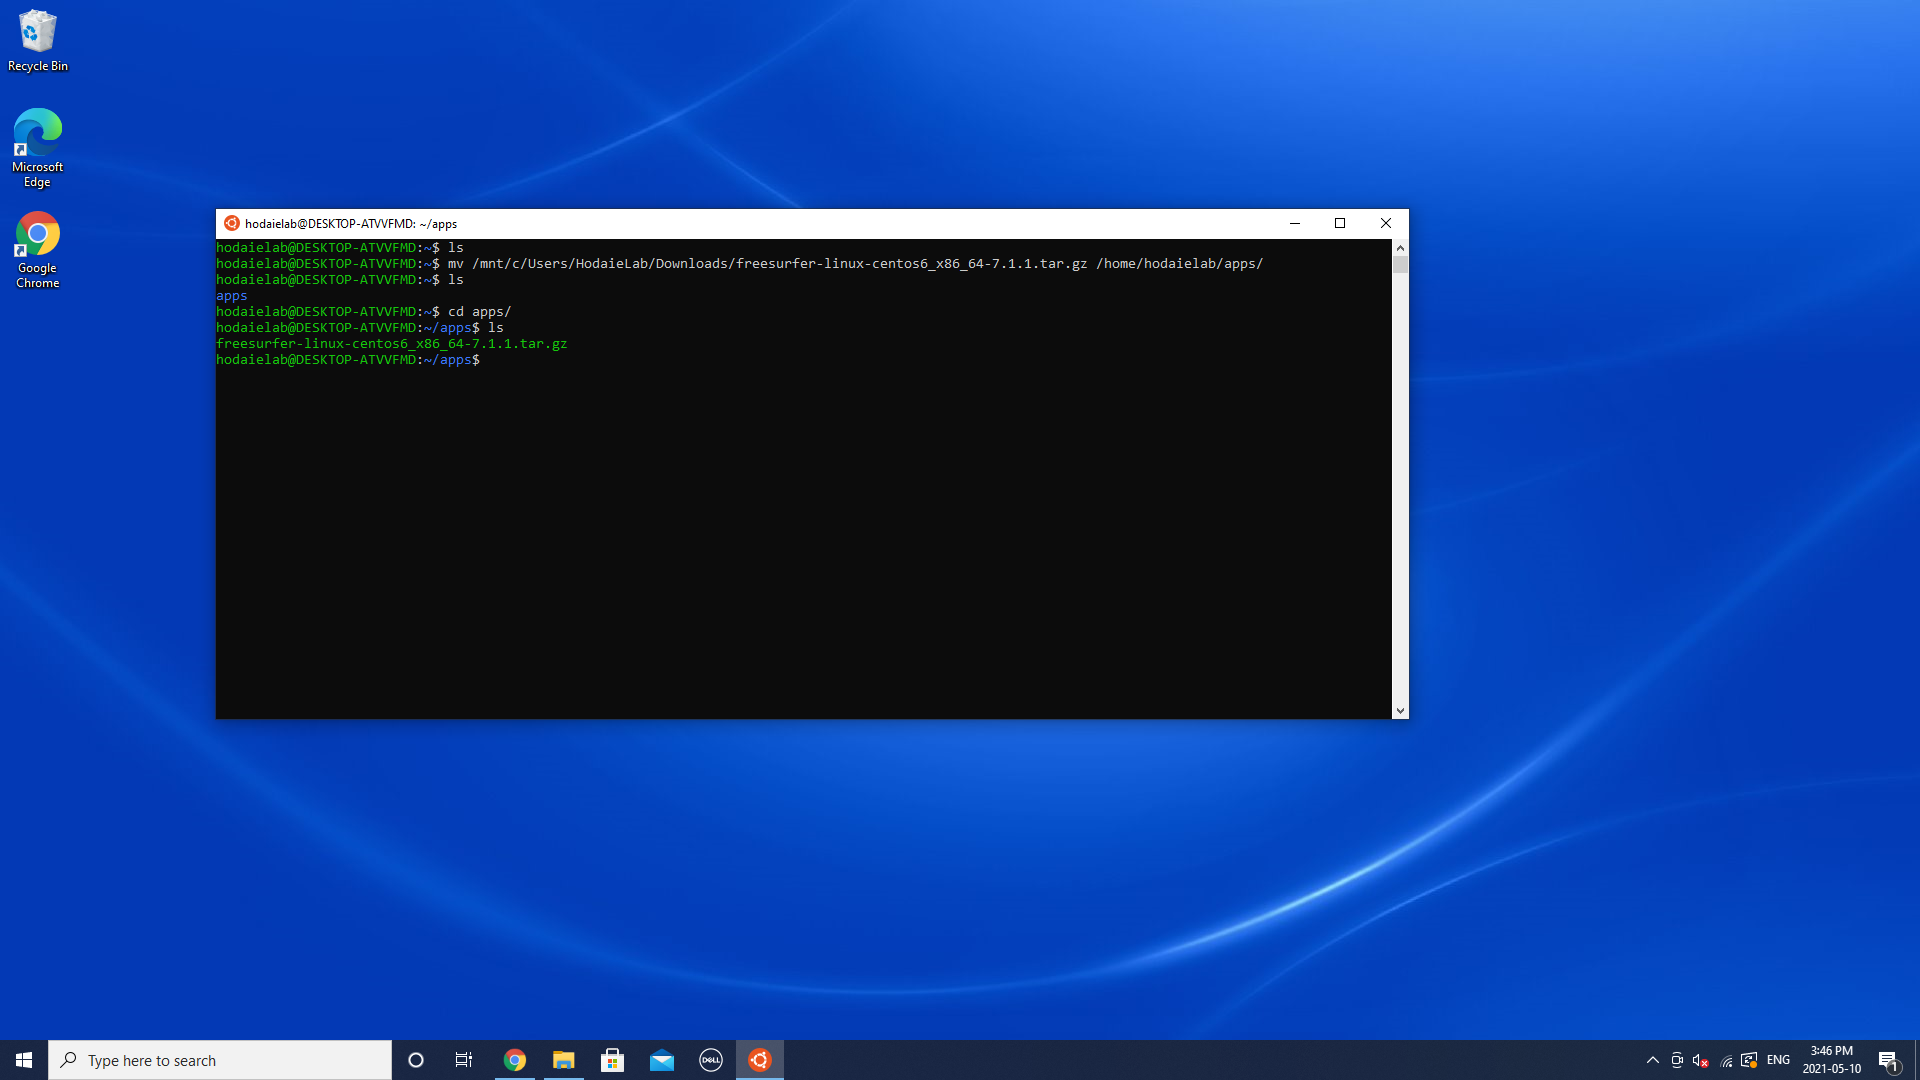
3) Now you will be able to see the archieve in your apps directory.
4) Unzip the archieve using following command:

5) After extraction is over, check the set up by typing these commands:
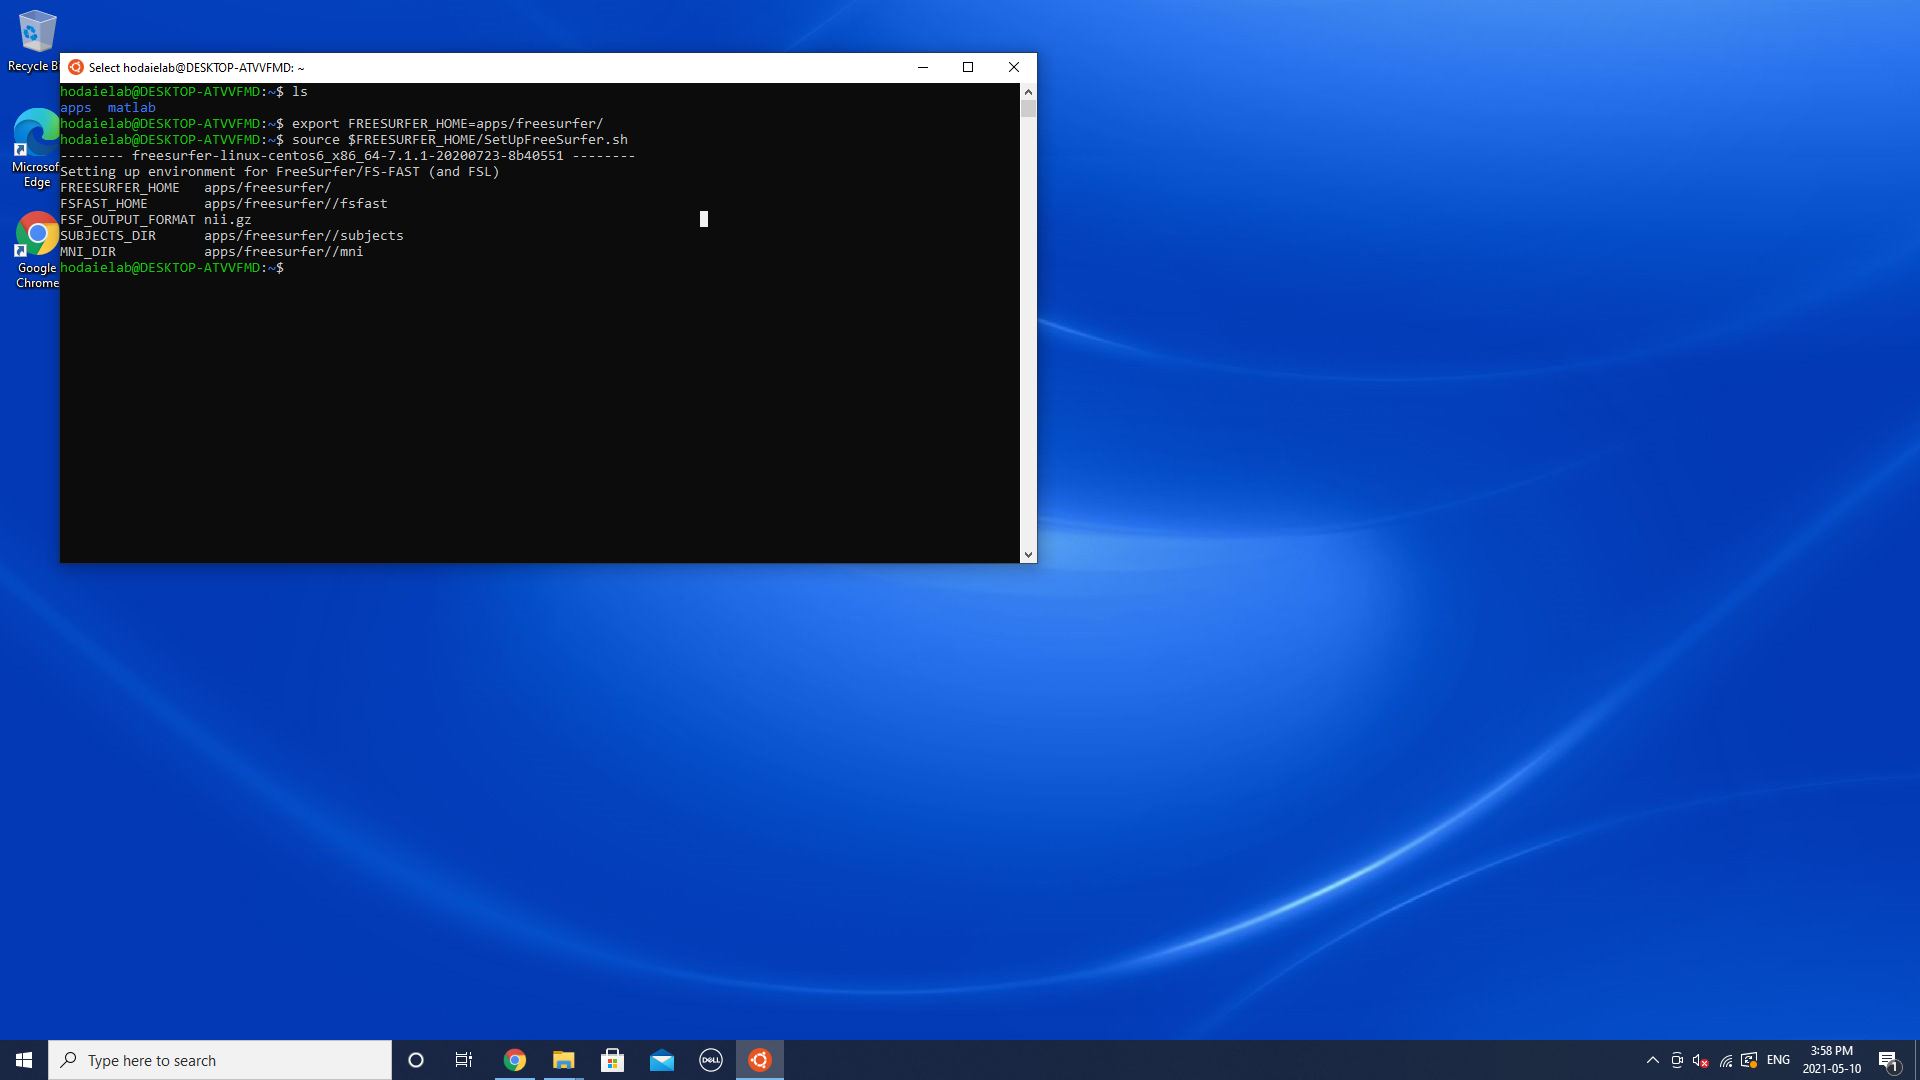
If you see similar output, your set up is almost completed!
Before you start processing your data, be sure to copy your license.txt file to the $FREESURFER_HOME directory.
In addition, you can add the source command to your ~/.bashrc file, so freesurfer will be loaded automatically everytime you open the Terminal. To do that, type
sudo nano ~/.bashrc
Press enter, then type your password. You will see the .bashrc source code in the editing mode. Scroll the file down and add following: 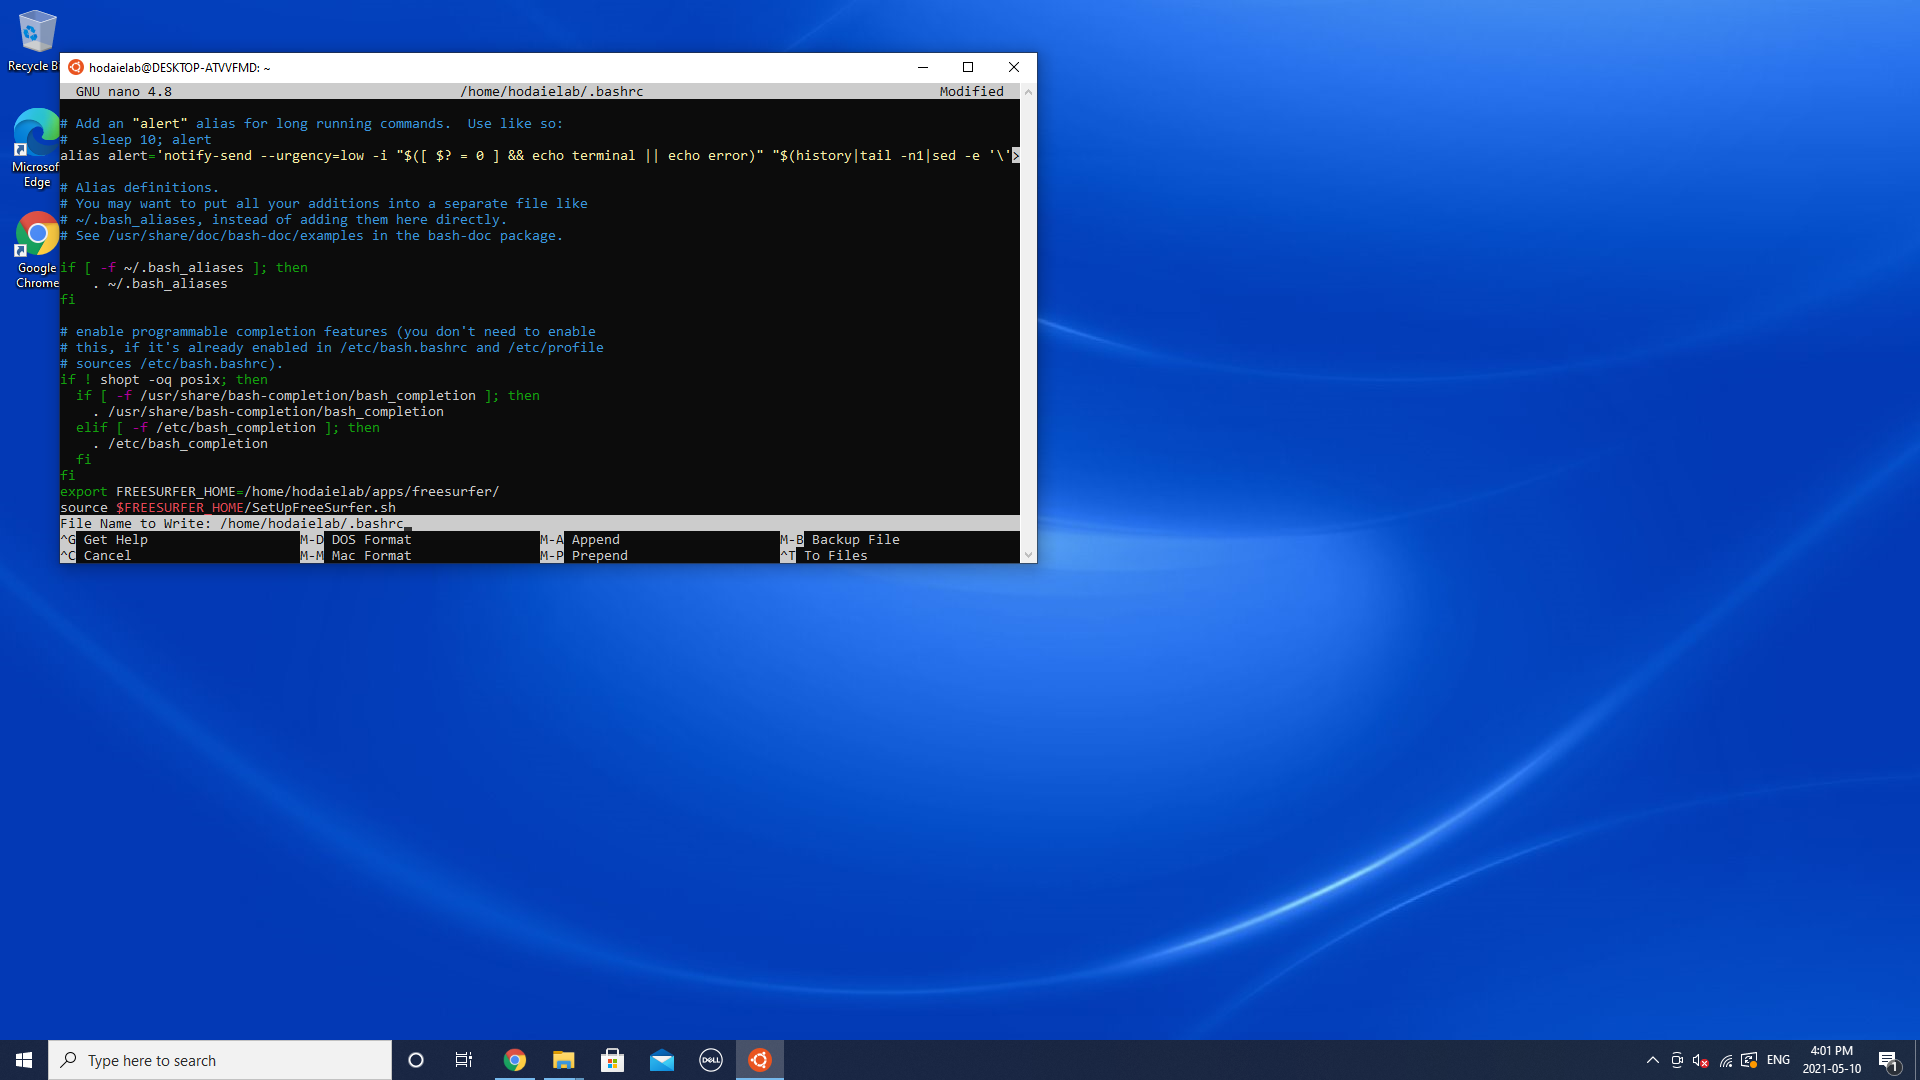
Save changes and restart Ubuntu app.